Showing posts with label spring. Show all posts

Monday, April 18, 2011

Kate Spade Knock-off Pillow

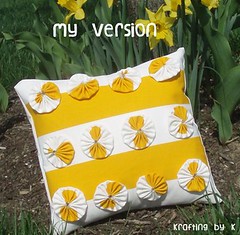
Have you seen the Kate Spade bedding floating around the internet? I'm obsessed with the Kate Spade Heirloom Rose bedding. So Springy and cute! I decided I couldn't wait any longer and that I would make myself a knock-off of the pillow in front!


KateSpadeBeddineKate Spade Knock-Off


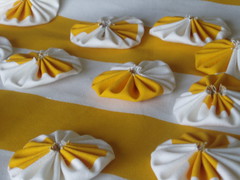
I started by making a bunch of yo-yos using this tutorial.

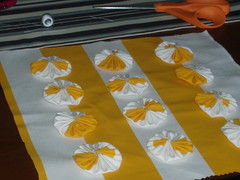
After I made a bunch, I cut out a 12" x 12" square of the original fabric (which looks so close to the one in the picture!!). I sewed all of my yo-yos to the pillow.

P4121228


Then sewed some more... my hands hurt!

P4121232


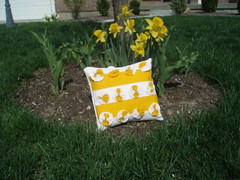
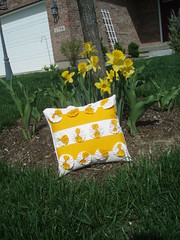
Finished the back of the pillow with an envelope closure and new Spring pillow! It even matches my flowers!


P4121235


P4121236

Wednesday, April 6, 2011

Spring projects

Want to brighten up a dreary room or a cold gray day? Try one of these easy spring projects! Project #1: Cheery spring table runner.

I wanted something bright and colorful to pick up the dark tones of my dining table, so I pulled out my scraps and found a perfect length of fabric I'd used for some curtains and some lining that was just the right size. For a table runner, all the have to do is decide how wide you'd like the finished product to be and add about an inch to either side for seams. I laid out my cut fabric on the floor and squared it off (both the design and the liner). Then I folded the long sides about an inch and pressed them. I folded an inch again and pressed the sides, then took the whole thing to my sewing machine and sewed a seam down either side (this includes the liner, which gets tucked into the folds as you make them).

Then I folded each end like a Christmas present- fold the fabric up about an inch, tuck in the corners and pin. I topstitched both ends and that was it! Now I have a beautiful table runner to spruce up my table.

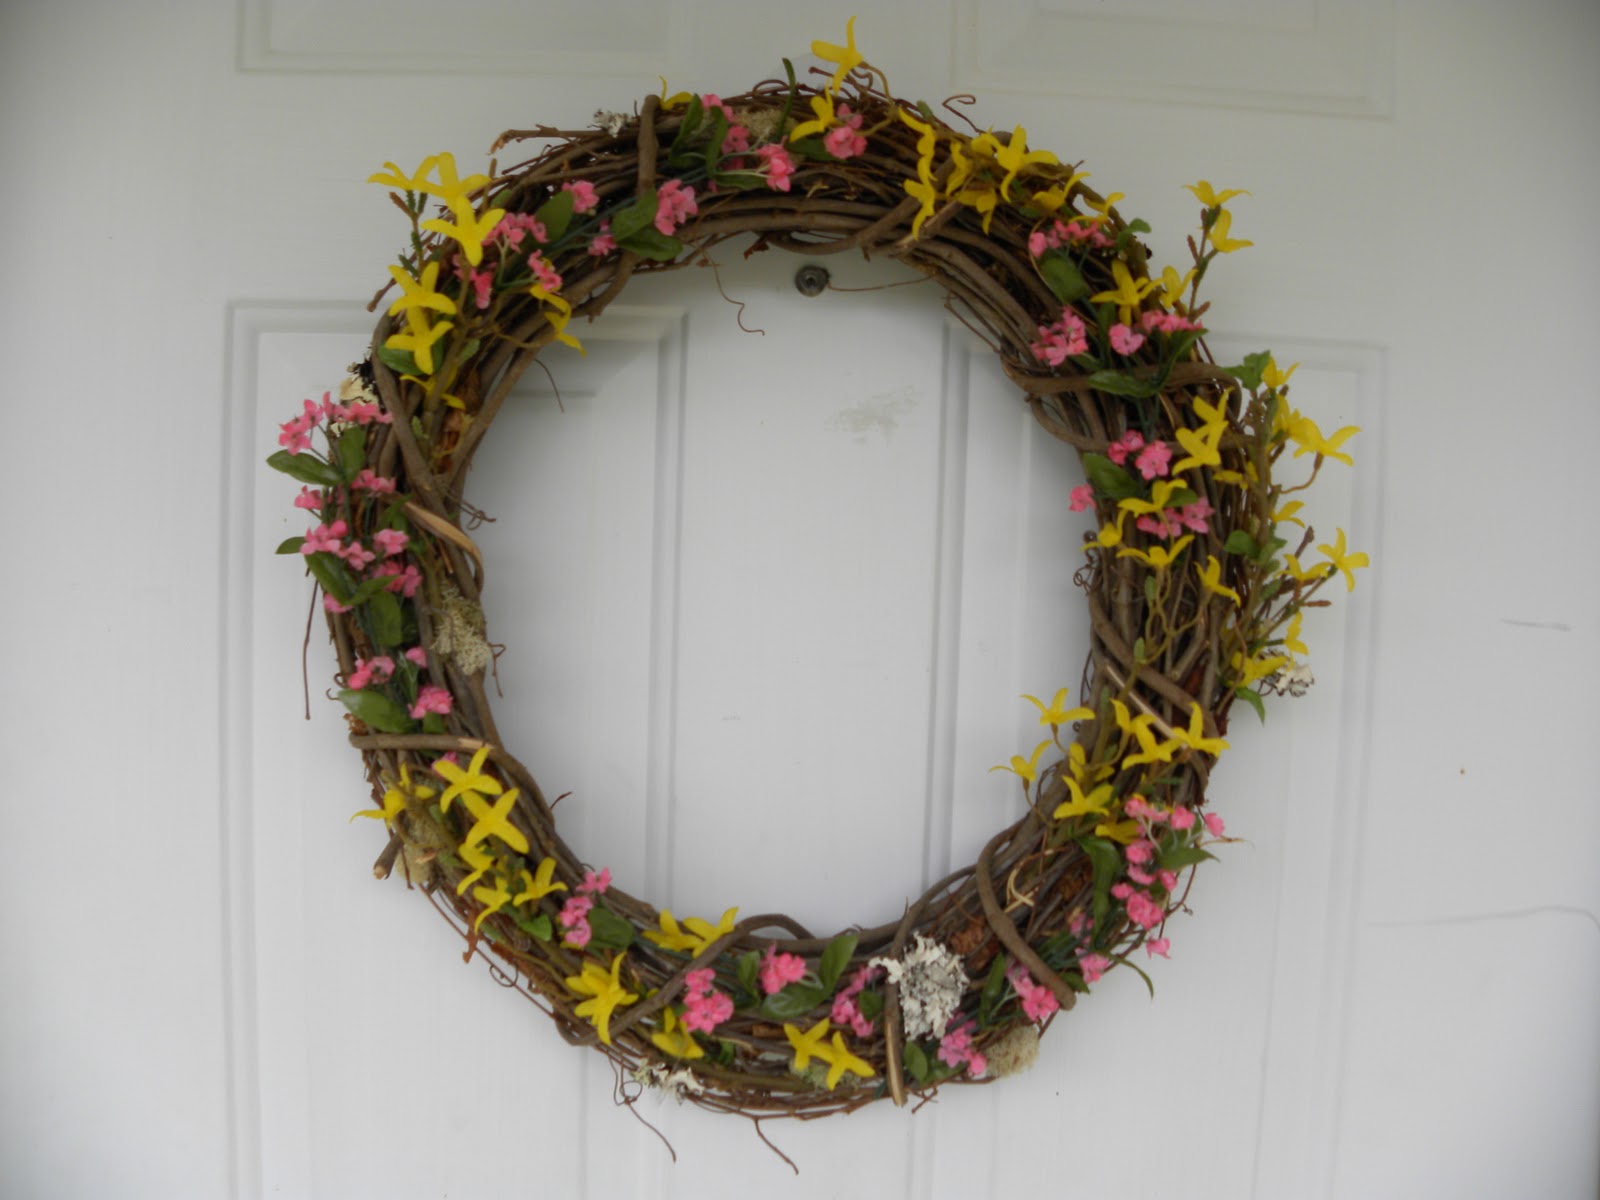
Spring project #2: Easy door wreath. I have a grapevine wreath hanging on my door that's been there for a few months. It was dull, drab, and hadn't been updated since last Easter. If your door is magnetic, you can look for a magnetic wreath hanger. I found mine at Wal-Mart. It's super heavy-duty and will hold up to strong winds. You can find grapevine wreaths at any crafting store. I also bought some fake forsythia and fake pink flowers to complete this wreath.

I previously used dried flowers on this wreath, but after exposure to the elements for a few months, they turned brown, so I took them off. The only elements that I liked that remained were some lichens and moss. I superglued those onto the wreath. I do prefer realistic-looking fake flowers if possible. Using my wire cutters, I clipped apart the floral stems and began to insert them into the wreath, alternating pink and yellow. Be sure to really anchor the stems well- you don't want them to fall out. And that's it! Feel free to add artistic touches such as a nest or robin's eggs for a little more nature feel.

Tuesday, April 5, 2011

Mary Poppins Spring Mantel!

It's easy!  Let's see..You think.  You wink.  You do a double blink.  You close your eyes...and jump!
The finished product!
Okay, so Thursday there is a spring mantle linky party at The stories of a2z, and I thought, well, we don't have a mantle, but we certainly do have a long shelf that looks like a mantle (which, FYI, we got for free dumpster diving).  And let's be honest; our mantle was covered in wedding leftovers (read: fall colors).  Time to spruce things up!  So I looked at the old mantle, then I looked at some burlap bags I had lying around (they were free, so I took them), and then I looked at my hodge-podge mess of a craft room and decided it was time to get crafty.

Old Mantle
Burlap Bags
Messy Craft Room
 So then I thought; how will I make this springy?  In Indiana, the first sign of spring is when the daffodils bloom.  I love daffodils.  And then this lyric popped into my head:  "The daffodils are smiling at the doves!"  If you don't know what movie that is from by now, well, allow me to enlighten you:
MARY POPPINS!
Okay, so it may or may not be my favorite movie of all time.  And what better way to celebrate spring than with one of the greatest movies ever?  It's "Right as a morning in May!"  The youthful innocence, the bright colors, the gaiety...what?  You want me to tell you about the mantle, already?  Okay.

I started by making some silhouettes.  Not with a Silhouette fancypants machine.  With an exacto knife.  That's what us poor people use.  Spartan.  Then I added some chipboard letters and lyrics, and voila!  Some mantle decor that quite frankly would also make fantastic nursery decor.  Sigh.

"Supercalifragilisticexpialidocious"
"With tuppence for paper and strings, you can have your own set of wings."
"When you're with a 'sweep, you're in glad company."
Then, I added some doodads to the mantle: a little bird (Hobby Lobby), some medicine (my own creation), a sugar bowl (Goodwill), and spoons (family heirlooms).  (Get it?  A spoonful of sugar helps the medicine go down!)

You can't really see it in this picture, but you should know
that the medicine is Rum Punch flavored-MP's fave!


"In every job that must be done, there is an element of fun.
Find that fun and SNAP!  The job's a game."
I tried to absorb this concept into studying for class,
but no matter how much I make studying a game,
it is still not fun.

Okay, so then I made this little shadow box for the birds, because let's face it; feeding the birds is what this whole movie is about!  (Generosity, seeing past the end of your nose, etc.)

"Feed the birds, that's what she cries; while overhead, her birds fill the skies."

Okay and then there is this scene where Bert hands MP a bouquet of flowers, but when she goes to smell them, the flowers turn into butterflies and fly away!!!  So, I put some butterflies in some vases!


Too literal?  No fear, I am going to personalize this thing, don't you worry!  The movie takes place in 1910.  How funny, I have some old family photographs from 1912-1918 (and one first communion form the 1930's).  Granted, the movie takes place in England, and the photos take place in France, but I figure it's close enough.  I took my 100-year old photos, scanned them (yeah, no way am I going to ruin those treasures!), and, wait for it....made them into a banner!  I was a little sick of sewing, so I used a hot glue gun, some ribbon, some trim, and some pieces cut from ye olde burlap bags.  Not too shabby! (Actually, it's kind of shabby chic, so maybe it is too shabby?)

My grandma at her 1st Communion!

Great grandma (I think) and her two brothers. And some other peeps.

 And one last bit:  you can't see them in the picture at the top (because they aren't there), but I added some more doodads.  For me, spring also signals the greatest holiday in Christendom: Easter.   Luckily for me, I found some old First Communion and Remembrance cards with spring themes (from France, from 1912-1918).  Again, these were 100 years old (but in fantastic condition!), so I scanned them, glued them to cardstock and folded the cardstock so that they would stand up.  Ta da!  Aren't they lovely?

Flowers from Bethlehem.
Yes, I realize the one on the left is in German.
Historical tidbit: My family is from Alsace-Lorraine, France,
a border region that bounced back and forth from French to German control and back, so everyone in that area simply spoke both languages.  Cool, huh?

So here is my final product: not as clean as the picture you saw at the beginning of the post, but for me, it carries so much sentimental value.  With these artifacts, I feel like I am right there in turn-of-the-century Europe, singing along with Julie Andrews!
In the words of Mr. Banks: "How pleasant is the life I lead!"

Linking to:


One Month To Win It


Running with Glitter


Tuesday, March 22, 2011

Towel Aprons

So, my mother makes these towel aprons as Christmas gifts, birthday gifts, etc:

They are great.  Because seriously, I am a messy cook, and I always need something to wipe my hand on.  Most aprons are too pretty to ruin with my gunky hands.  But these aprons are made with towels, so I can throw them in the wash and use them again!  I liked my mom's pattern, but the towels and the pockets were too big for my little self.  So, I modified them.  And here is my attempt at a tutorial:

They are really easy to make, and take hardly any time at all!   First, I just laid my mom's aprons down and cut some pattern shapes based on how she did hers.  You cut off just a little bit of the top of the towel to make it fit. Here are what all the pieces look like:


Then, I stitched the top on, right sides together.  If you can't tell, I use a piece of fabric on both the front and the back of the towel,  That way, when you fold it up and topstitch, the rough edge of the towel is completely enclosed and won't shed everywhere.


I ironed and topstitched at the bottom, where it attaches to the towel, and then I folded under the rough edges at the top and topstitched those as well.


Then, on to the pockets.  I simply ironed the rough edges underneath, stitched the top edge down (about an inch from the top), and then topstitched the other three edges right onto the apron.


Now for the straps:  one package of bias tape.  That's it.  I cut it in half, and then placed it over and the remaining rough edges.  I stitched it to the apron, and then stitched the ties as well.  I love bias tape--it is so easy.  Well, if you buy it from the store, that is.  I hear you can make your own, but that is a lot of work, and a lot of ironing work at that.  I'm clumsy, and making my own bias tape is just asking for serious burns.


Here is the finished product for a guy's apron:

The nice thing is, you don't have to finish or hem the bottom, because the towel already has finished edges! But for fun, for the girl's apron, I used some lace attached to (you guessed it) bias tape (it came like this . . . and on clearance), and sewed that right on the bottom.


And here is the finished lady's version, with curved pockets:

I made these as gifts, and they were as loved as my mother's aprons, so I think I did alright.  As I was making these, I also thought about how easy it would be to make them reversible.  You could have one fabric on one side of the top part, and another on the other side.  Then you could stitch pockets on both sides and have two aprons for the price of one!  Perhaps I will try that next time....


Linking To:


Photobucket