


Showing posts with label ribbon. Show all posts

Thursday, January 5, 2012

Cleaning up Holiday Cards

For a while, I was just content to let our holiday cards pile up on the counter or get knocked over every time I passed the wine rack, but I finally just had enough of it. I decided it was time to organize those darned things and display them nicely. I reasoned that if people took the time out of their busy holidays to write, address, and send a card, that I could take a few minutes to display it and enjoy the beauty.

I spent a while looking through some ideas online. Initially, I wanted to construct some kind of ladder thing where the cards would hang on the rungs, but I was short on supplies. I found an idea for a cute clothespin wreath- except that I didn't want to have to store the thing once Christmas was over.

So after some more poking around, I finally got out some ribbon and started playing with it. My first attempt was to put up those sticky hooks on the walls and wind the ribbon around those. This failed miserably, as the weight of the cards bore the ribbon to the ground repeatedly. Then I had a brilliant idea. I took my length of ribbon and used a couple thumbtacks to attach it to the top of the door frame leading into our laundry room. I hung some cards using clothespins, and voila! Instant beautiful decoration and card holder.

When I'm done, I can just roll up the ribbon and use it for other things. How great!

PS: See the cute little message board? Mrs. K made that for me!

And to the right, next to a cork trivet my husband's sister made out of our wedding corks.

Friday, April 8, 2011

Bachelorette Party Invites

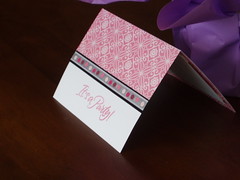
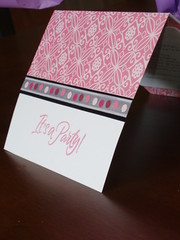
I'm on a card creating kick! Did you see the bridal shower invites that were posted earlier this week? I couldn't help myself and wanted to make something black & pink for the bachelorette party.

P4041155

P4041154

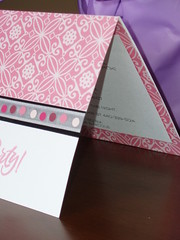
I started by buying some pink scrapbooking paper. I cut it and glued it to the top half of the card. I glued a strip of black ribbon where the paper met the card. I covered up the black ribbon with a smaller (my favorite!) self-adhesive ribbon. It created more of a layered look.

P4041153

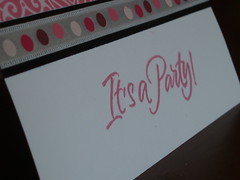
I then bought a cute "It's a Party" Stamp and pink ink. Stamped each of the invites and admired my work. So pretty!

P4041152

Thursday, April 7, 2011

Card Creation

I decided to branch out of my comfort zone (sewing) to craft up some lovely invitations. Now if you know me and/or the bride you may be getting one of these so act surprised when you get it. Or, even better, when you get the invite send me a comment letting me know what you thought!

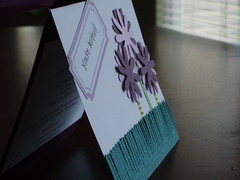
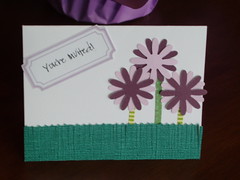
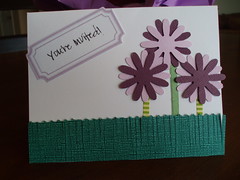
I offered to help make the invitations for the bridal shower. Here's the finished product:
P4041144P4041147

Punches


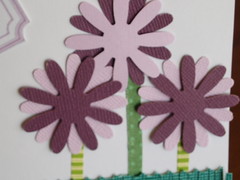
I started by buying a pack of white cards and matching white envelopes. A great blank canvas! Then (since I don't own a cool Silhouette/Cricut/cutting machine) I purchased these two punches. The wedding colors are lilac and yellow. So I made flowers using the punch from two shades of purple cardstock. The flowers got layered with foam tape to make them 3D.


Then I bought self-adhesive ribbon. What a time saver here! I cut the ribbon to length and then in half.
The grass at the bottom I used my scalloped scissors to cut 2.5" stripes. Then used my straight scissors to cut the blades of grass in.
I printed the "Your Invited" tags at Staples and cut around them. I then used double stick tape to adhere it to the front. I was thinking of making some of these for the spring and summer with different tags.
P4041142

P4041141

What do you think? I made a bunch of these guys and I love looking at them!

Linking to these parties