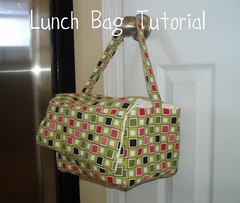
So here's how you make the lunch bag. You'll need the following:
- 1/2 yard of Insul-Bright
- 1/2 yard of outer material (I prefer home decor fabric)
- 1/2 yard of liner material
- 3" of velcro
- Bottom: (1) 10"x 8"
- Short Sides: (2) 8"x7"
- Long Sides: (2) 10" x 7"
- Flap: (1) 11" x 4
- Top: (1) 11" x 8"
- Handle: 26" x 5"
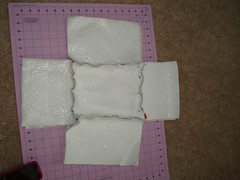
The home decor fabric is under the insul-bright in this picture. When you pin be sure to pin the right sides of the home decor fabric together! Here is a close-up
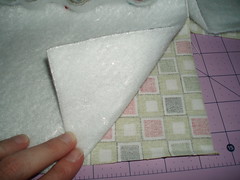
I should warn you that I prefer to do all pinning together and then all sewing together. I don't like to jump around. Next I pinned the sides (right sides of the fabric touching) together. Now you will have a box with the right side of the fabric facing out and the insul-bright on the inside.
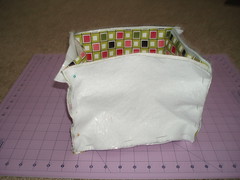
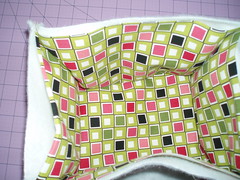
Repeat and build a box with the liner.
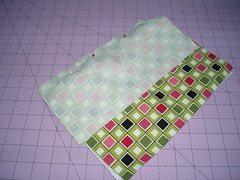
Now it's time to build the lid! Pin together the top and the flap so right sides are facing each other. You are going to do this with both the liner and the outer/insul-bright. Below you'll see the picture of the liner/insul-bright so just repeat with the liner.
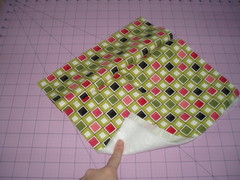
Now pin the two pieces together. Right sides should face each other with the pinned seams facing outwards.
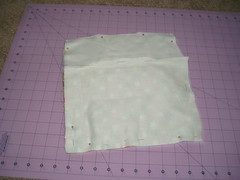
Pinning is mostly done, so off to the sewing machine! Remember all of those pieces you pinned? Now it's time to sew along all of the edges. Just leave a small hole in the bottom of the liner. Here's a picture of the hole I left in my liner:
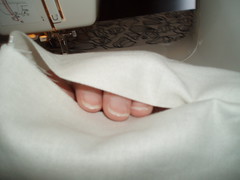
The tricky part with the boxes are the corners. Be patient and be sure to use a longer stitch when going thru the insul-bright and the fabric.
For the top and flap, first sew the top to the flap for the liner. Be sure to pull it away from the other material so you are only sewing the liner material together. Then repeat with the outside/insul-bright. For the top and flap only sew 3 of the 4 sides together. Sorry, forgot a picture here. Leave the short end of the TOP with raw edges. Once sewn, flip that bad boy inside out! I put pins in so you can see where the top affixes to the flap.
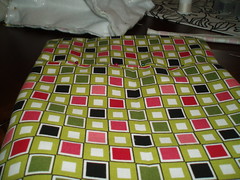
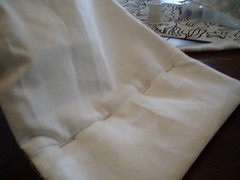
Time to create the handle. Take your handle and iron it in half. Then sew a 1/2 seam down the whole piece. Flip the whole thing inside out. I saw this tip (what a time saver!) on another blog but can't remember where? Once sewn push a piece of rope down the whole tube. Sew the rope to one end. If you tug on the rope, it'll flip the piece inside out in a matter of minutes!!
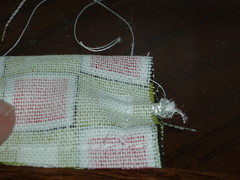
Time to assemble the lunch bag. Inside your outer box, put the top/lid and pin it to one edge. Be sure the right side of the lid is touching the right side of the outer material.
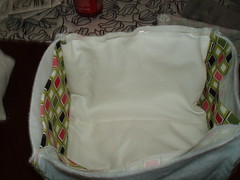
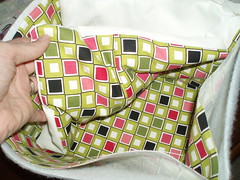
Next layer in your handle. In my picture the handle is backwards. I realized it after I took the picture. When assembled correctly you should see the back of the handle.
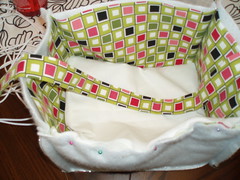
Take your liner and flip it. Put the liner inside the other box so right sides match. This is really important or you'll be mad that it's made inside out. From outside to in, the layers should be insul-bright, outer, lid, handle and liner.
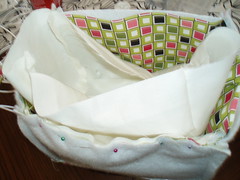
Carefully pin everything in place and SEW. No more pinning after this step. Well, not really. Sew around the whole top of the box and then using that hole you left in the liner, flip it around. Now stuff the liner into your lunchbag. Admire your work but you're not quite done yet....
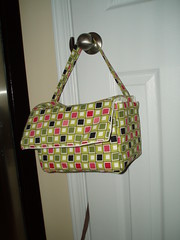
It's time to make the lid really stay shut and you have a hole in your liner. Hand sew velcro to the center of the flap. Just be sure not to go all the way to the outer fabric.
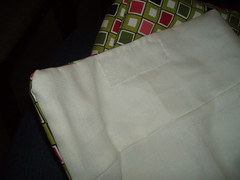
Fold the flap over and mark where the coordinating velcro should be sewn and hand sew that on.
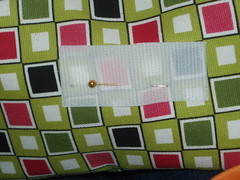
I leave the hole in the liner while I sew on the velco so I can stick my hand inside and make it easier on myself. Your choice! Then pull the liner out and top stitch the hole shut. Now, you are done!
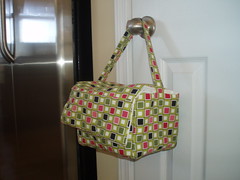
Make one for yourself. Make one for your kids. Heck make one for your friend!
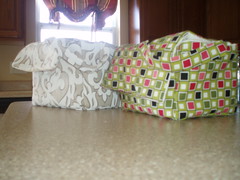
What do you think? I made it so that frozen lunches and storage containers would fit.


10 comments:
That turned out great! Lucky friend.
dude. i seriously hope you link this up--it is far better than most of the lunch bags i see on the linkies!!!
I am totally going to make one of these lunch bags for myself! Thanks for the tutorial!
These are great for Earth week. I need to be more conscious of the earth. I am featuring this at somedaycrafts.blogspot.com. Grab my "featured" button.
Just made one! I am going to repost this link on my blog if you dont mind. LOVE the bag!
Have been looking for a pattern that will hold my leftover containers not standing on end so they leak. Will get started on it tomorrow, Thanks for sharing.
Life is a battle, if you don't know how to defend yourself then you'll end up being a loser. So, better take any challenges as your stepping stone to become a better person. Have fun, explore and make a lot of memories.
n8fan.net
www.n8fan.net
This is the best weblog for anyone who wants to search out out about this topic. You notice a lot its virtually laborious to argue with you (not that I truly would need…HaHa). You undoubtedly put a brand new spin on a subject thats been written about for years. Great stuff, just nice! bovada casino
Very nice poost
Yum
Post a Comment