


How we made this after the jump!
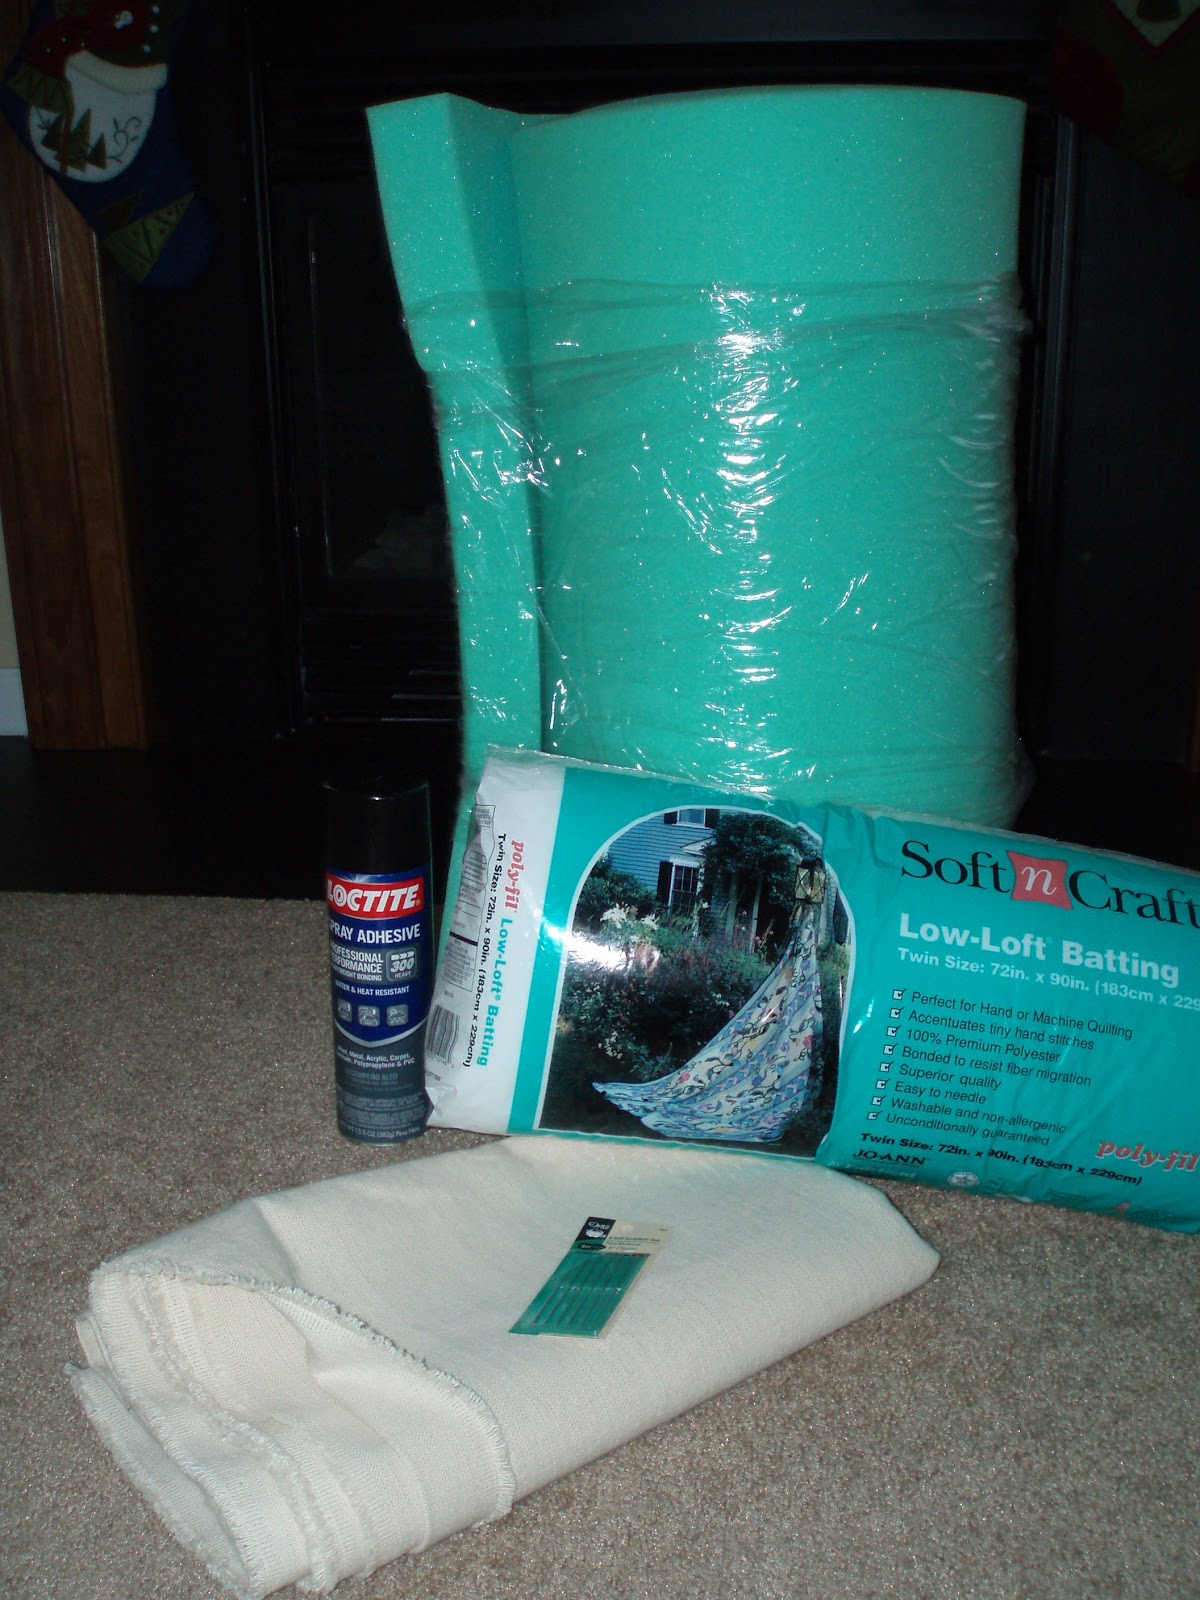
Step 1: Run all over town picking up supplies. If you don't have a pick-up truck, SVU, giant vehicle, beg neighbor or friend to let you borrow one.
Step 2: Place supplies down the basement and forget they are there for months
Step 3: Remember supplies are downstairs. Drag lazy butt down there and start assembly. Remember that you need to iron the fabric and run back upstairs.

Step 4: Actually start the project. Spray plywood and 2" foam with spray adhesive. Stick together. Put batting on top. Remember fabric is upstairs and ask husband to help you move everything to the living room.
Step 5: Leave project in living room for 3-4 weeks. Make husband annoyed with your project.
Step 6: Upholster headboard. Try to use staple gun to staple the fabric. Realize you have the wrong staples. Go to 3 stores and realize NONE of them carry your size staples. Purchase new staple gun and curse .... curse a lot.
Step 7: Repeat step six with success because you now have the correct staples.
Step 8: After another 2 weeks, draw nice grid on the back of your headboard. Mark place for the holes for buttons. This step should come before step 4, but you forgot. Mark every 10" in a nice grid with little "X" marks the spot. Husband still doesn't trust you with any type of electric tool yet, so you need to wait for him to get home.

Step 9: Ask husband to drill holes and put in little wood screws. Since husband's friend is there, recruit him to help. (Don't mind the walls, we were painting the living room)

Step 10: Begin tufting. Get annoyed because even though the holes are large enough, you have a difficult time finding them with your giant doll needle. Stop after 5 buttons are finished and take a 2 day break.
Step 11: Start tufting again. You are using nice thick jean thread, but it keeps breaking. REALLY?!?! Husband is upset that your project became his project too. Opps. Take another break
Step 12: Wake up at 3am with realization that you can use fishing line instead of jean fabric. You are so smart.
Step 13: Start tufting for the third time. Fishing line works better but you are tired of tufting. Start making jokes about tufting because you want the project to be finished. Finally tufting is finished.
Step 14: OMG 14 steps, really? Move headboard to the guest bedroom. Try to help husband hang it but annoy him by giving incorrect measurements. Opps.

Step 15: Retreat to other room until headboard is hung. When it's finished, thank your husband for helping. Swear you will never take it down or try to make another one.
Are you tired reading all of that? Me too. It was an exhausting project and an expensive one too. Here is the Final Cost Breakdown:
- Plywood: $15
- Staples: $2
- Mounting System: $7
- Upholstery Fabric (on clearance): $15
- 2" Foam: $50
- Batting: $7
- Button Covers: $12
- Button Fabric: $0.30
- Doll Needles: $3

No comments:
Post a Comment