I wanted something bright and colorful to pick up the dark tones of my dining table, so I pulled out my scraps and found a perfect length of fabric I'd used for some curtains and some lining that was just the right size. For a table runner, all the have to do is decide how wide you'd like the finished product to be and add about an inch to either side for seams. I laid out my cut fabric on the floor and squared it off (both the design and the liner). Then I folded the long sides about an inch and pressed them. I folded an inch again and pressed the sides, then took the whole thing to my sewing machine and sewed a seam down either side (this includes the liner, which gets tucked into the folds as you make them).
Then I folded each end like a Christmas present- fold the fabric up about an inch, tuck in the corners and pin. I topstitched both ends and that was it! Now I have a beautiful table runner to spruce up my table.


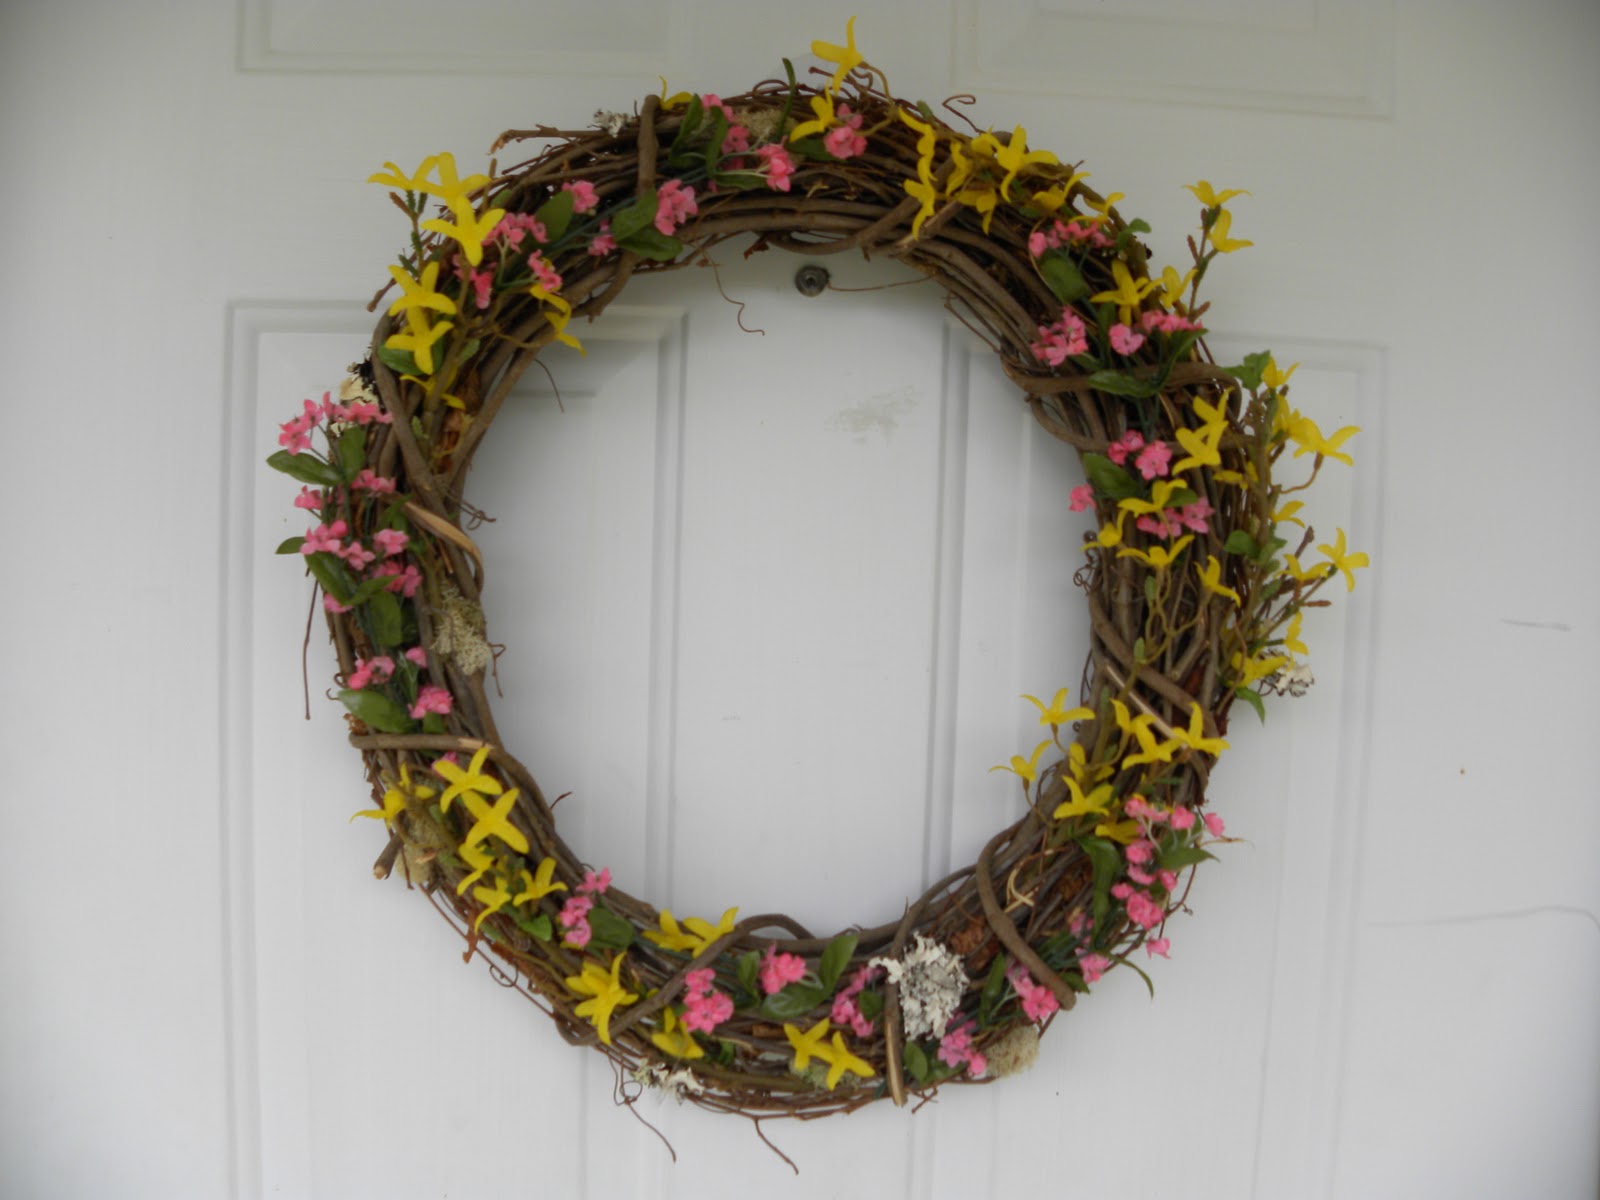
Spring project #2: Easy door wreath. I have a grapevine wreath hanging on my door that's been there for a few months. It was dull, drab, and hadn't been updated since last Easter. If your door is magnetic, you can look for a magnetic wreath hanger. I found mine at Wal-Mart. It's super heavy-duty and will hold up to strong winds. You can find grapevine wreaths at any crafting store. I also bought some fake forsythia and fake pink flowers to complete this wreath.
I previously used dried flowers on this wreath, but after exposure to the elements for a few months, they turned brown, so I took them off. The only elements that I liked that remained were some lichens and moss. I superglued those onto the wreath. I do prefer realistic-looking fake flowers if possible. Using my wire cutters, I clipped apart the floral stems and began to insert them into the wreath, alternating pink and yellow. Be sure to really anchor the stems well- you don't want them to fall out. And that's it! Feel free to add artistic touches such as a nest or robin's eggs for a little more nature feel.