Don't forget to enter the earth Day Giveaway
HERE. It is open through Wednesday!
Also, we were featured on
Tea Rose Home this morning! She featured Mrs. K's
Kate Spade Pillow Knock-Off, and several other inspired projects! Welcome, Tea Rose Home Readers!
While my husband was enjoying his brand new
brewing mitts, I was thinking of the next big man craft that would make him happy.
 |
| The next project is waiting. |
 |
Mr. S. enjoying one of his homebrews
with his mitts. |
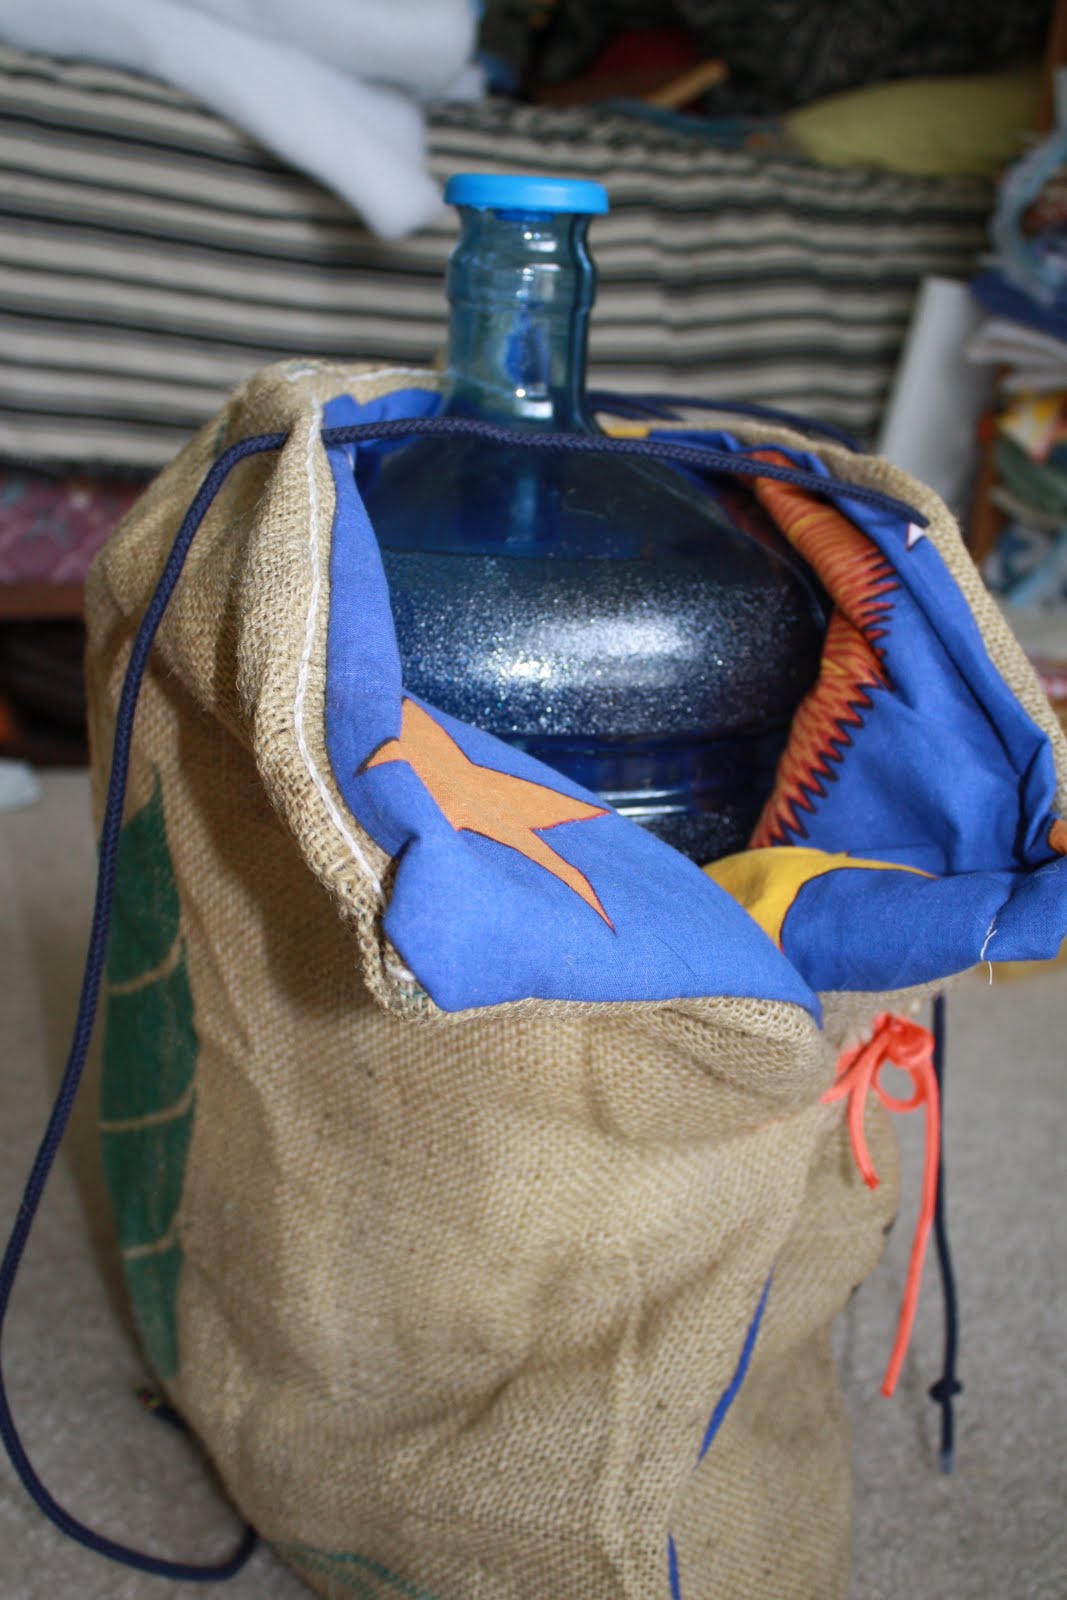
Well, Mr. S has been talking about needing a carboy cover for a while now, so I thought I would make him one for Easter. While some people give each other baskets of candy for this holiday, my family always steered clear of the sugar, and my basket usually contained little trinkets, hair bows, etc. Well I think Mr. S would be sad if the Easter bunny brought him hair bows, so we'll try this instead:
Basically, a carboy is a water bottle that holds your beer while it ferments. It is supposed to be completely light-proof, and Mr. S recently told me that he also would like it to be padded, so that his glass carboy will not break if he drops it.
I was originally just going to make a wrap, but since he mentioned dropping things, I made it a little more bag-like. Mind you, I have never seen what a real carboy cover looks like, so I completely made this up.
I used an old wall hanging, some scrap batting, and one of those burlap bags, so this project was FREE. I took two layers of the hanging, and pinned them to the "right" side of a piece of cut burlap (mine was cut to fit his carboy), then stitched 3 sides together. I used my biggest needle on the sewing machine. While it was easier to sew than expected, the burlap shed EVERYWHERE. Be prepared to clean out the inner workings of your machine and vacuum when you are done with this project.
 |
| Stitched and Trimmed |
 |
| Pinning right sides together |
There were a couple thick parts that my machine would not go over, so I hot glued them later. I probably should have hand-stitched them, but I was feeling lazy, so glue gun to the rescue! I sewed the seams in about an inch, but I ended up trimming a little around the edges when I was done.
Then, I turned it right-side out, and stuffed in some old batting scraps to make padding. Should I have quilted it to make sure the batting didn't bunch around? Yes. Did I? No. This is one of those times that it would have been nice to have some of that adhesive spray, huh? Oh well, it will serve its purpose; plus it's probably going to get beer spilled all over it, so I'm not inclined to make it look too pretty.
 |
| Turned right-side out |
 |
| Batting time |
Once the batting was stuffed in, I turned down edges at the opening, and top-stitched them shut. At this point, I realized that I was basically making a giant coffee sleeve. Hm. Then I folded the rectangle in half, with the burlap sides together, and stitched the side shut. This way, the carboy can slide into the cover without having to be lifted up too much (they are heavy when they are full).
 |
| Pinning the edges together |
 |
| Sewing the edge shut |
 |
| Carboy slides in |
Okay, so then I made some ties to help tie the side and top together. I took some nylon string and old shoelaces that were in my stash. For the side tie, I took a crochet hook, poked a hole in the burlap, and threaded some of the nylon string through it. On one side, I just used a lighter and fused the string to itself to make a loop, and then I threaded a piece through the other side to make a tie.
For the tops, I picked two spots on either side of the spout, and ran one piece of shoelace through each side. Since it's pretty hard to get a shoelace through a hole in the burlap, and you tie a knot at the end of the lace anyways, I don't expect the string to slip out of the holes anytime soon. Plus the string is long enough that you can open the top up almost all the way!
And voila! A light-proof, padded carboy cover! And now for a photo shoot!
 |
| All tied up |
 |
| Letting it all hang out |
 |
| Keepin it real! |
Thanks for stopping by for this tutorial! So glad you could visit us here at Krafting With K!