As the post title suggests, the new year's clean up rampage has continued in our household. Mr. D. and I cleaned up and re-organized the entire garage in preparation for a chest freezer (we get so much food from the farm that our regular freezer is full...and we were recently given an ice cream maker on top of that!).
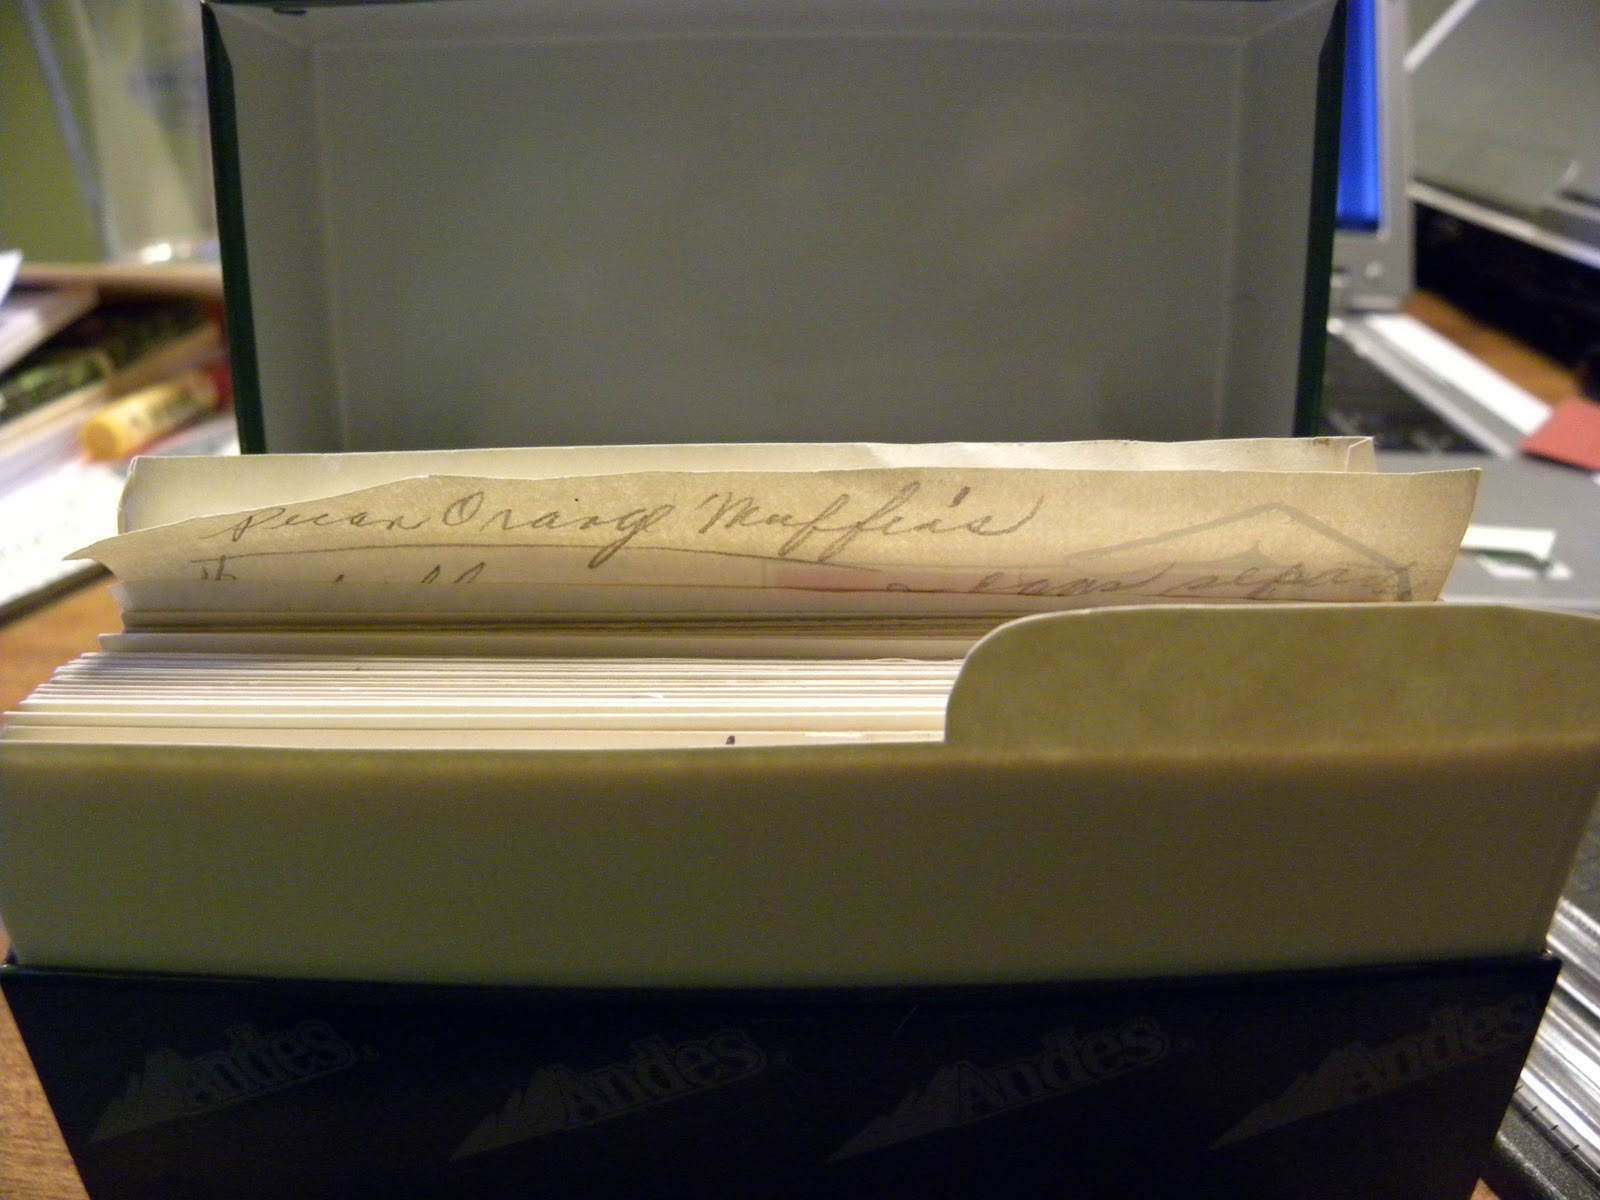
So today it was rainy and I decided that the next thing to receive an organization makeover was my recipe box. I had a system for putting cards in- only the tried and tested recipes deserved to be written nicely on a card and deposited in the box. But I could never find anything when I wanted it! So here's how to make dividers for your recipe card box.
Step 1: Gather materials. You will need:
- A ruler
- Scissors
- Card stock or thin cardboard
- Scrap booking paper
- Markers/crayons/colored pencils
Step 2: Measure the size of your recipe cards and write down the dimensions. My recipe cards were 3.5 inches tall and about 5 inches wide.
I then measured how tall my recipe box was. It was about 3.75 inches tall, so I figured I could make the tabs on the dividers about 3.5 inches tall without worrying if the lid would close or not.
Step 3: Using a ruler, measure out a rectangle the size of your divider. On one long side, draw a tab the length and position you would like, and round the corners if you wish.
Step 4: Cut this out and use it as a template for your other dividers. Make as many as you need, adjusting the tabs if you want some in the center or on the right side.
Step 5: Label and decorate your dividers. If you have scrap booking paper, you can cut it to fit the divider and simply glue it on. I labeled my dividers using thin Sharpie markers of different colors, then decided to cut out some decorations and glue them on:
It's cute, but it was so time-consuming that I simply gave up after this one and drew on the rest.
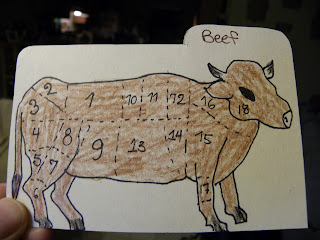 |
| Yes, this is an illustration of the cuts of beef. I thought it appropriate, even though I have no idea what the numbers stand for... |
 |
| Good....good....REAL good.... |
 |
| Some day, my children will find these and be shocked to discover where there meat comes from. |
|
My categories included: Beef, Chicken, Pork, Seafood, Bread/Grains/Pasta, Soups, Drinks, Desserts, and of course, Veggies!
 |
| I felt obligated to label my produce in case people couldn't tell what was what. |
Of course, once the dividers are in the box, you can't see the illustrations, but
I know they are there, and it makes me happy to know that.
So now my recipe box is completely organized! If anyone would like a template to print out these dividers, let me know via comments. I'd be happy to make one up and post it here for all you lovely readers.